Assembling the Smart Greenhouse
Assembling the smart greenhouse is very simple. Use the following two steps:
Step 1. Connect the grove devices to the WioLink board
You will need these devices connected to the following ports:
- A Relay: Connected to Port 1
- A Servo: Connected to Port 2
- A Temperature/Humidity Sensor Pro: Connected to Port 3
- An Grow Light Strip: Connected to Port 5
- An I2C hub or branch cable: Connected to Port 6
- An OLED Screen: Connected to the I2C hub or branch cable
- A Light Sensor: Connected to the I2C hub or branch cable
Step 2. Assemble parts controlled by the relay (fan/pump)
You will need the following parts controlled by the relay
- A 12V ventilation fan (40mm x 40mm) or a 12V water pump
- A 9V battery with clip
- A Wire stripper
- Tape
How to connect the fan/pump to the relay
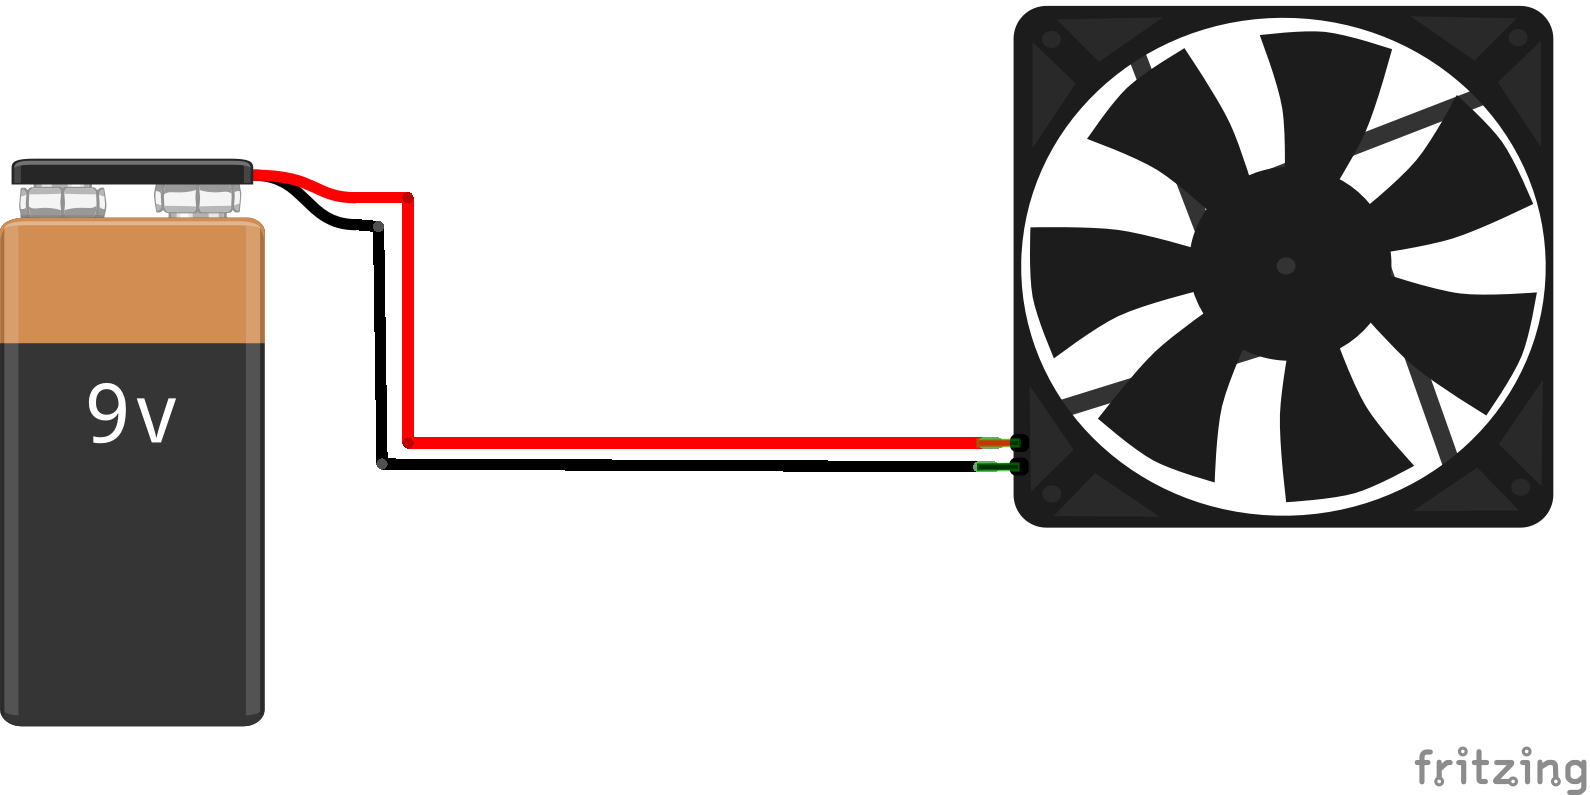
First, cut off the two pin connector on the fan. Remove the protective material from the wires and expose the copper wires with the wire stripper. Now, if you connect the red and black wires to the corresponding wires on the 9V battery clip, the fan will spin:
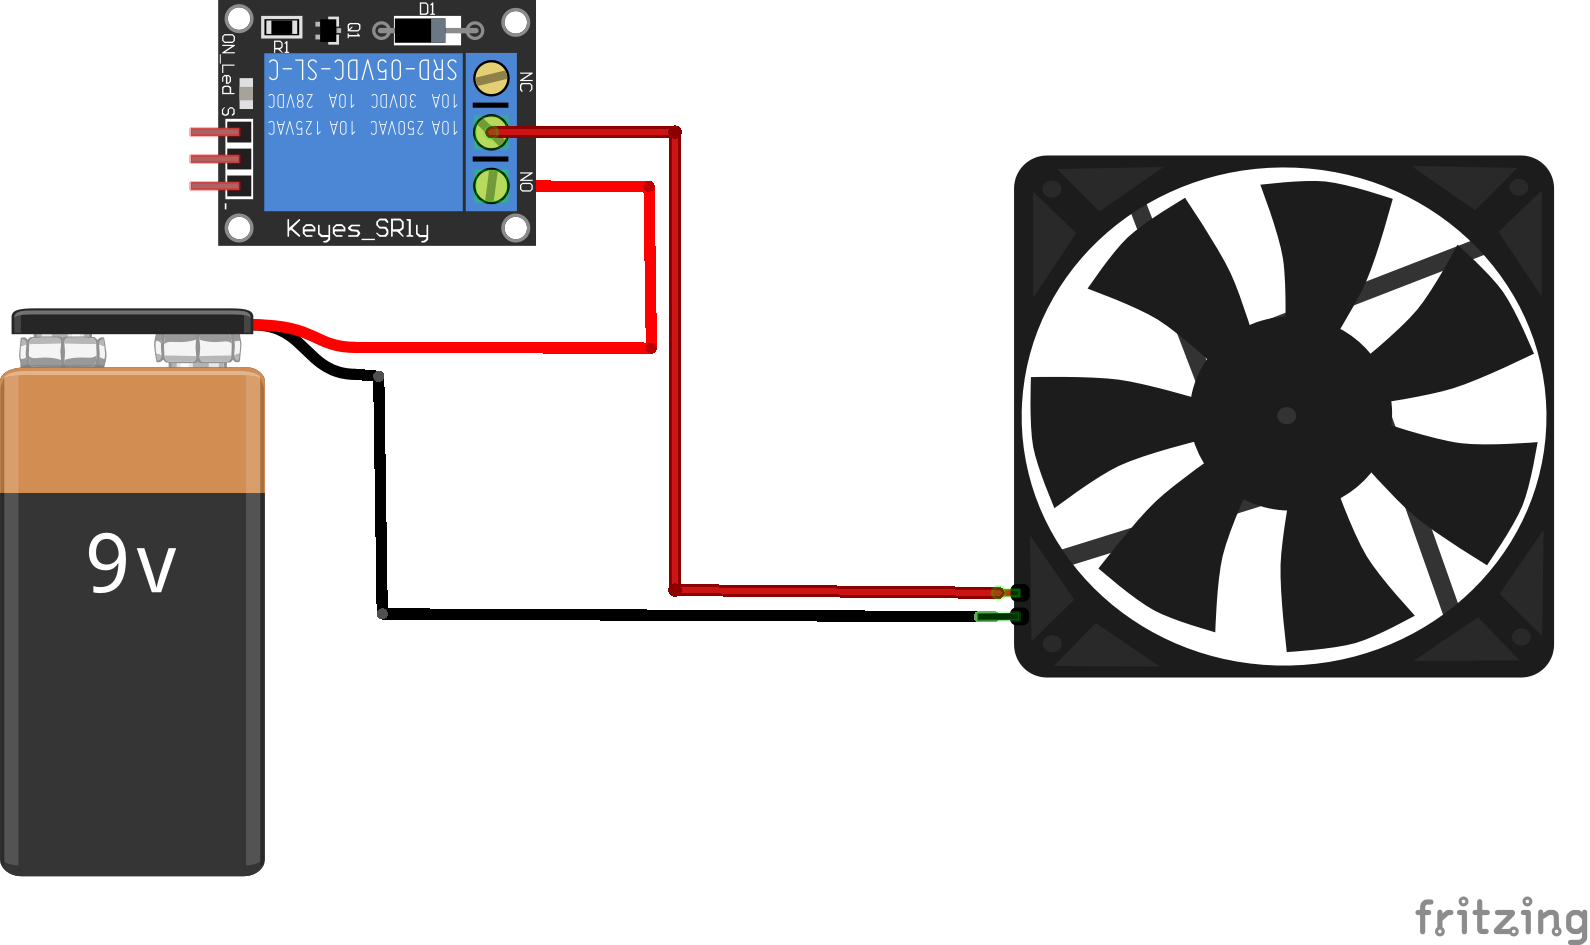
Now, think of the relay as a regular switch. Keep the black wires connected (you might want to tape it. Insert the red wire from the fan to one terminal of the relay (Either one will work. You might want to loosen the retention screws first) and the red wire from the battery clip to the other. This way, when the relay is activated, the circuit will be closed, and the fan will start to spin.
Step 3. Software installation
Use the link below to download main.py (right click on the link -> save target as main.py). Use EsPy’s file manager to upload the file to the WioLink board. Alternatively, you can copy the code below and create a new file called main.py in EsPy. Save the file and use the upload button to upload it to the WioLink board. Either way, when you are finished, simply press the reset button. The board should start to work after 5 seconds.
Download Links: