displays - Working with Screens and LEDs
The displays module provides a collection of classes to interact with screens, LED lights, and LED strips.
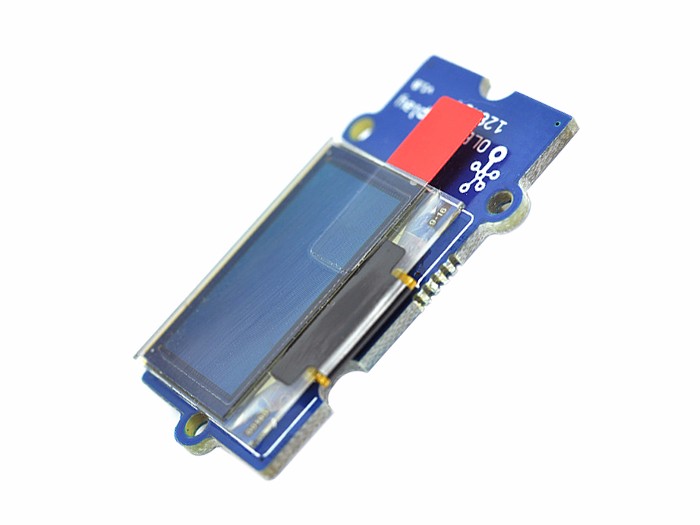
OLED Screen
-
class
displays.OledScreen(port[=6], width[=128], height[=64], address[=0x3c])¶ Allows control of a Grove 0.96’ OLED screen. It is an I2C device so it will only work on
Port 6or an I2C hub that is connected toPort 6. You can specify thewidthandheightof the screen (default 128x64). You can also specify the I2C address of the screen. If you are not sure, just use default values and everything will be taken care of.The screen has an internal representation of the content it displays called framebuffer. Usually you will need to change framebuffer first, and call the
show()method to change what is actually displayed on the screen. Some of the following methods only changes the buffer, while some directly modifies what is displayed on the screen. Please choose these methods accordingly.-
OledScreen.clear()¶ Clears the framebuffer. Does NOT change what is displayed on the screen. Please call the
show()method subsequently to see the result.
-
OledScreen.clear_line(line)¶ Clears the specified
linein the framebuffer. Does NOT change what is displayed on the screen. Please call theshow()method subsequently to see the result.
-
OledScreen.write_line(line, message)¶ Writes the
messageto the specifiedline. Does NOT change what is displayed on the screen. Please call theshow()method subsequently to see the result.
-
OledScreen.show_line(line, message)¶ Writes and shows the
messageto the specifiedline. This method directly changes what is displayed on the screen.
-
OledScreen.show_sensor_data(sensor, line)¶ Writes the data on the specified
sensorto the specifiedlineand returns the data readings from the sensor to avoid reading data repetitively.
-
Example:
from displays import OledScreen

screen = OledScreen(6)
screen.show_line(1, "Hello World!")
LED Lights

-
class
displays.Led(port[=1], on[=True])¶ Allows control of a Grove LED socket. It is possible to switch the LEDs on the socket. The LEDs have polarities. The longer leg is positive.
-
Led.on(fade[=False], duration[=1])¶ Turns on the LED. If the
fadeparameter is set toTrue, then the led will turn on gradually in the number of seconds set to thedurationparameter.
-
Led.off(fade[=False], duration[=1])¶ Turns off the LED. If the
fadeparameter is set toTrue, then the led will turn off gradually in the number of seconds set to thedurationparameter.
-
Led.is_on()¶ Returns
Trueif the LED is on, orFalseif it is off.
-
Grow Light Strip

-
class
displays.GrowLight(port[=1], n[=60], on[=True])¶ Allows control of a 5V LED strip based on the WS2812b (NeoPixel).
nspecifies the number of LEDs on the strip. Default is60. Ifonis set toTruethen the GrowLight will automatically turn on.-
GrowLight.on()¶ Turns on the LED strip as a plant growth light that emits red and blue light.
-
GrowLight.off()¶ Turns off the LED strip.
-
GrowLight.is_on()¶ Returns
Trueif the grow light is on, orFalseif it is off.
-
GrowLight.blink(color[=255, 255, 255]], times[=3], interval[=0.5])¶ Makes the LED strip blink. You can specify the
colorandtimesit blinks.coloris a list or a tuple ofR,G,Bvalues, with intensity that goes from0to255. For example,[255, 0, 0]sets the LED strip to red at its maximum intensity. Useintervalto control how long each blink lasts.
-
GrowLight.demo(program[="cycle"])¶ Demonstrates 3 different animations on the LED strip. The default program is
"cycle". Also available are"bounce"and"fade". Try them out!
Hint
This class is a subclass of MicroPython’s
neopixel.NeoPixelclass, so it can be programmed the same way as the Neo Pixel. See this page for more details and examples.-